

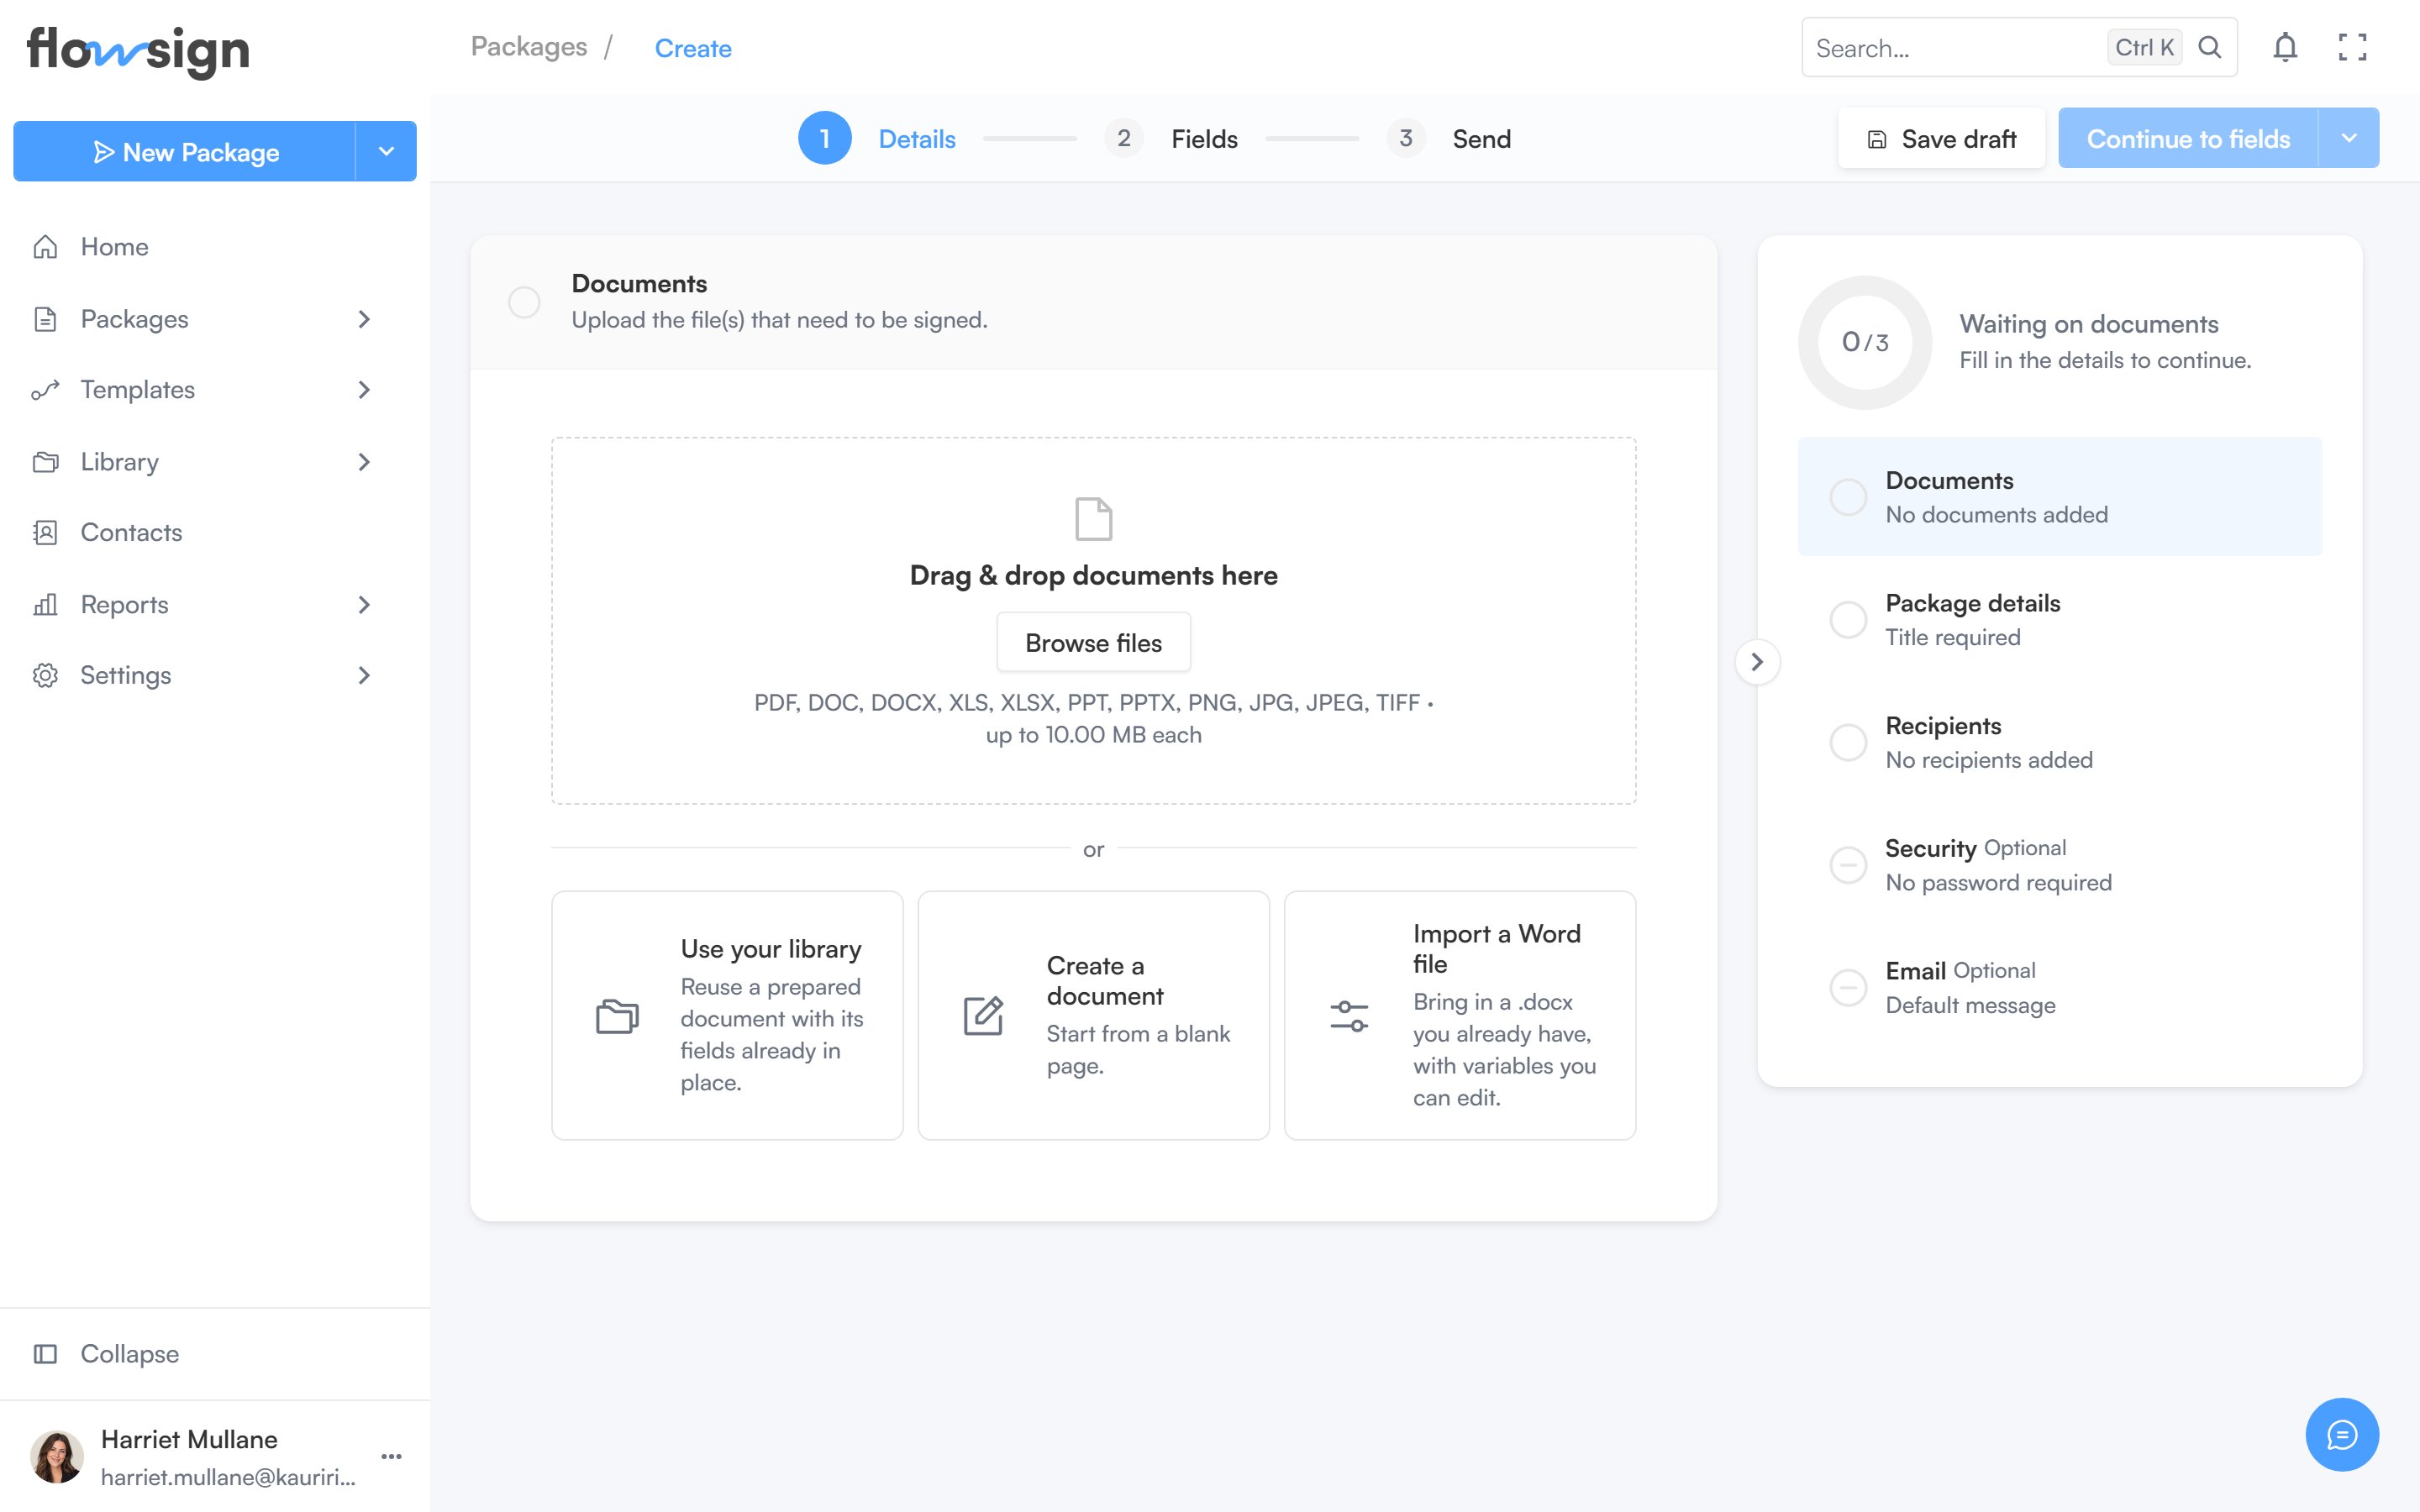
The first step of the package creator.
1
Upload documents
In Documents (“Upload the file(s) that need to be signed.”), add files from your computer or, if enabled, from the Library.
2
Fill in Package Details
Give the package a Package Title (required), optional Tags, a Duration and an optional Description.
3
Add recipients
In Recipients (“Add the people who need to sign or receive this package.”), add each person manually or switch to bulk mode to send the same package to a list from a CSV (requires a plan with the
bulkSend gate: Enterprise). Turn on Signing order to make recipients act one after another instead of all at once.4
Set security (optional)
In Security, turn on Password protect signing to require a password before recipients can view the documents. Generate creates a random password; Copy copies it.
5
Customise the email (optional)
In Email, set an Email Subject and Message (both optional; blank sends the default invitation) and a Reminder Frequency.
6
Continue, send or schedule
The top bar has Save draft and a Continue to fields button. Its menu offers Send without fields, Activate package, Schedule send and, where applicable, Sign now (in-person signing on the spot).
Recipient count is capped by your plan’s signer limit; the limit is enforced when you try to add past it.